

Creating a DIY rock climbing wall at home can offer both a fun and challenging way to stay active. Whether for personal use or to entertain family and friends, building a climbing wall can be a rewarding project. We’ll need to consider the size and scope of the wall based on the available space and the users’ experience levels. It’s an opportunity to customize a recreational space in our home and to build something that can be enjoyed for years to come.
Before starting the construction, it’s crucial to gather all the necessary materials and plan out the structure of the climbing wall. We have to ensure that the wall is safe and secure, taking into account the weight it must support and the types of holds we’ll use. With careful planning and a step-by-step approach, we can create a climbing wall that is both durable and enjoyable.
Key Takeaways
- A home climbing wall is a customizable and engaging fitness solution.
- Meticulous preparation and selection of materials are essential for safety and durability.
- Proper installation and regular maintenance ensure long-term enjoyment and use.
Planning Your DIY Rock Climbing Wall
https://www.youtube.com/watch?v=9qcoPV0YJLo&embed=true
When we set out to build a DIY rock climbing wall, careful planning is crucial. We’ll need to choose the right location, determine the size and shape, design the layout, and create a materials list that suits our project.
Choosing the Location
Finding the perfect space for our indoor rock climbing wall is the first step. We want a location that’s accessible and safe. Common choices include a garage or a basement with enough height and space to climb. It’s vital to ensure that the chosen location can support the weight and has no obstructions that could impact the climbing experience.
Determining the Size and Shape
Our wall’s size and shape depend on the available space and our climbing goals. If we’re aiming for a home bouldering wall, we might go for a shorter, but wider wall. For a full-blown home climbing wall, we might plan for more height. We’ll use measurements to match our design to the chosen location while taking into account the potential reach and movement of climbers.
Designing the Layout
In designing the layout, we lean on tools like SketchUp to visualize our project. We’ll decide on the angle of the wall—vertical, overhanging, or slanted—to challenge us as we climb. Planning for a variety of holds and paths makes for a versatile and enjoyable climbing experience. We’ll create a sketch that includes these elements while keeping the layout clear and manageable to build.
Creating a Materials List
Once we have our design, we’ll compile a materials list that includes all the climbing wall materials we’ll need. This encompasses structural supports like 2x4s, plywood sheets for the climbing surface, and T-nuts for attaching holds. We’ll also list the hardware needed, such as screws and bolts, and include safety equipment like mats. A detailed materials list helps ensure we don’t miss anything essential for building a climbing wall.
Gathering Materials
https://www.youtube.com/watch?v=YHxPZR-y1-M&embed=true
Before we start building our own rock climbing wall, it’s crucial to gather the right materials and tools. Quality and durability are key, as these will ensure the safety and longevity of our climbing wall. Ensure that all materials, especially the wood and frame elements, are suitable for the weight they will support.
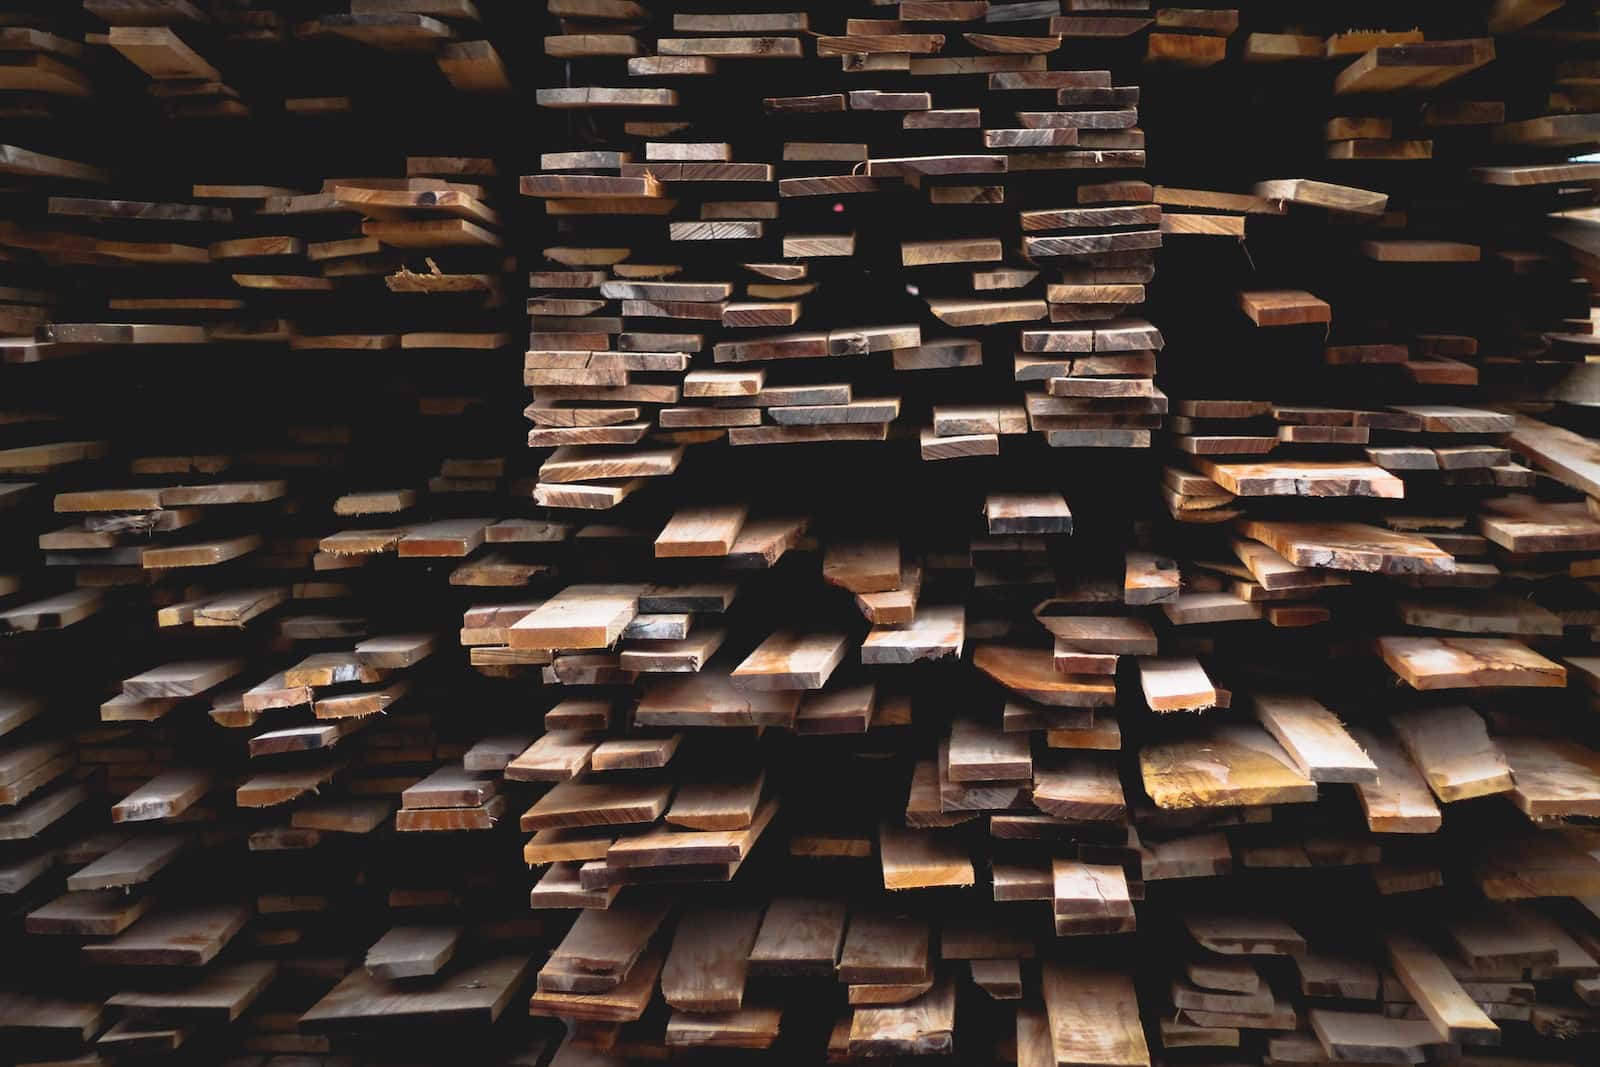
Selecting Wood and Frame Materials
For our climbing wall, we need strong wood and framing materials. Plywood is a popular choice due to its flat surface, making it ideal for attaching climbing holds. We’ll need 2x4s or 2x6s to build a sturdy frame. Since these materials will form the backbone of our wall, we should opt for pressure-treated lumber or other wood that can support significant weight.
- Plywood: Minimum of ¾-inch thickness
- Frame: 2×4 or 2×6 inch lumber
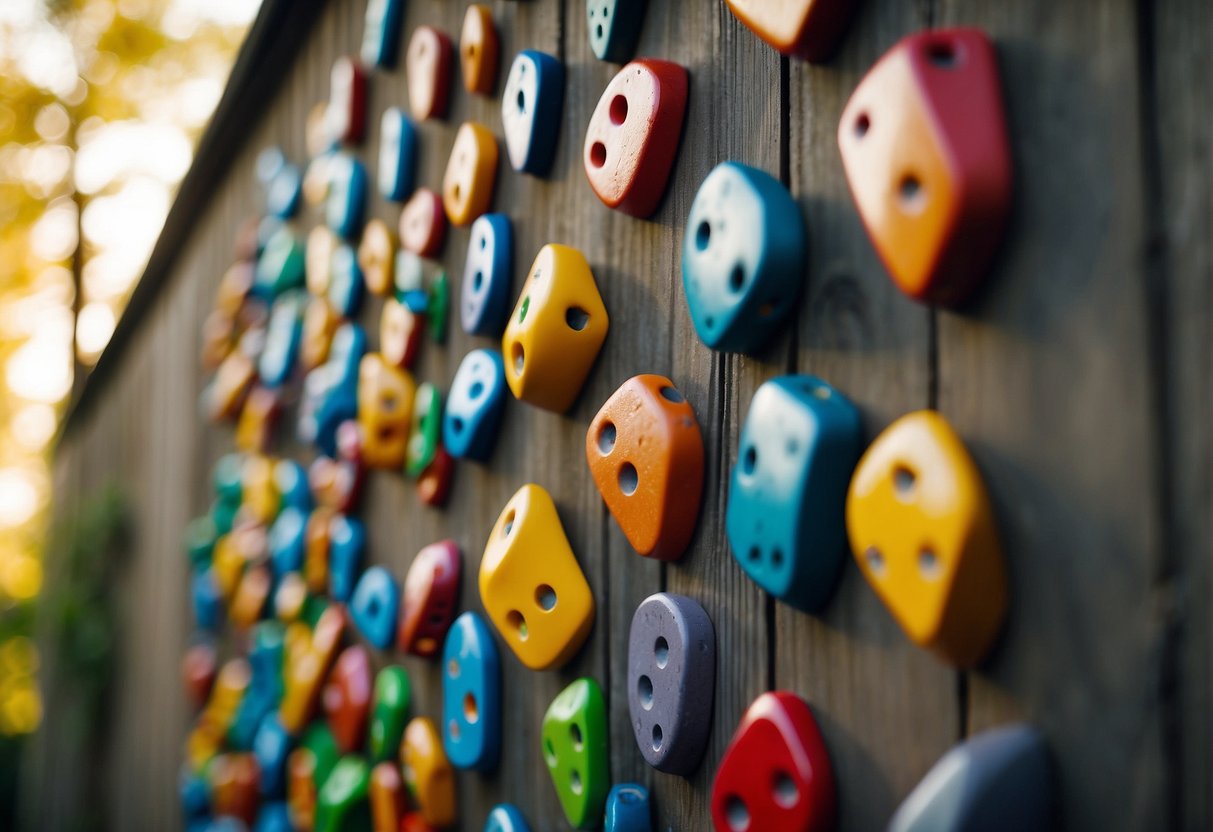
Choosing Climbing Holds
Climbing holds come in various shapes and sizes. Screw-on holds are directly attached to the wood with screws, while bolt-on holds use a bolt and t-nut system. When purchasing holds, consider the types of grips you would like and the level of difficulty they present.
- Holds Types: Pinches, edges, slopers, pockets, jugs
- Material: Usually made from resin or textured polyurethane
Hardware and Tools
To assemble everything, we’ll require a range of hardware and tools. 3-inch screws will fasten our frame securely, while t-nuts allow for the attachment of bolt-on holds. A drill with various drill bits is essential for creating holes, and a saw, whether a jigsaw or circular saw, will help us cut the wood to size.
- Screws: 3-inch wood screws for the frame
- T-nuts: For attaching bolt-on holds
- Tools: Hammer, drill, drill bits, saw (jigsaw or circular saw)
Safety Equipment
Safety can’t be overemphasized. We’ll need anchors and washers to strengthen the hold of our bolts and screws. Padding for the flooring beneath the wall is vital; crash pads or thick mats would suffice. Remember, always wear protective gear like gloves and eyewear when building your wall.
- Protection: Gloves, eyewear
- Floor Padding: Crash pads, thick mats
Assembling a DIY climbing wall requires careful material selection and proper tools. With these components in hand, we’re ready to build a climbing wall that’s both challenging and safe.
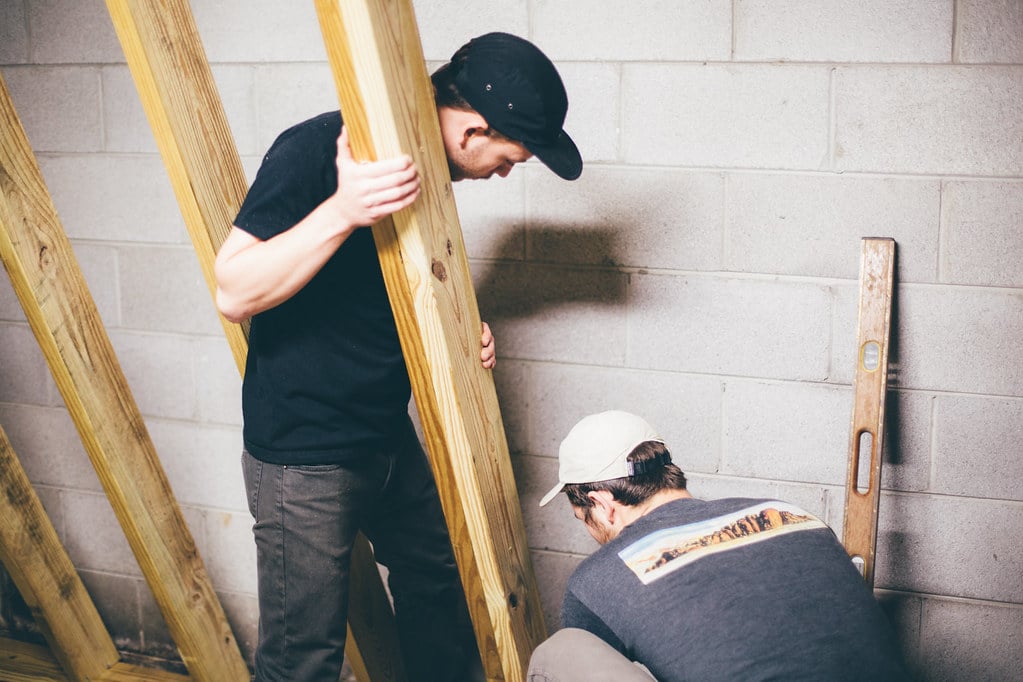
Constructing the Climbing Wall Frame
Before we begin constructing our climbing wall frame, it’s crucial to know that accurate measurements and solid assembly form the backbone of a safe and sturdy structure. We’ll carefully measure and cut the lumber, and then assemble the frame with precision.
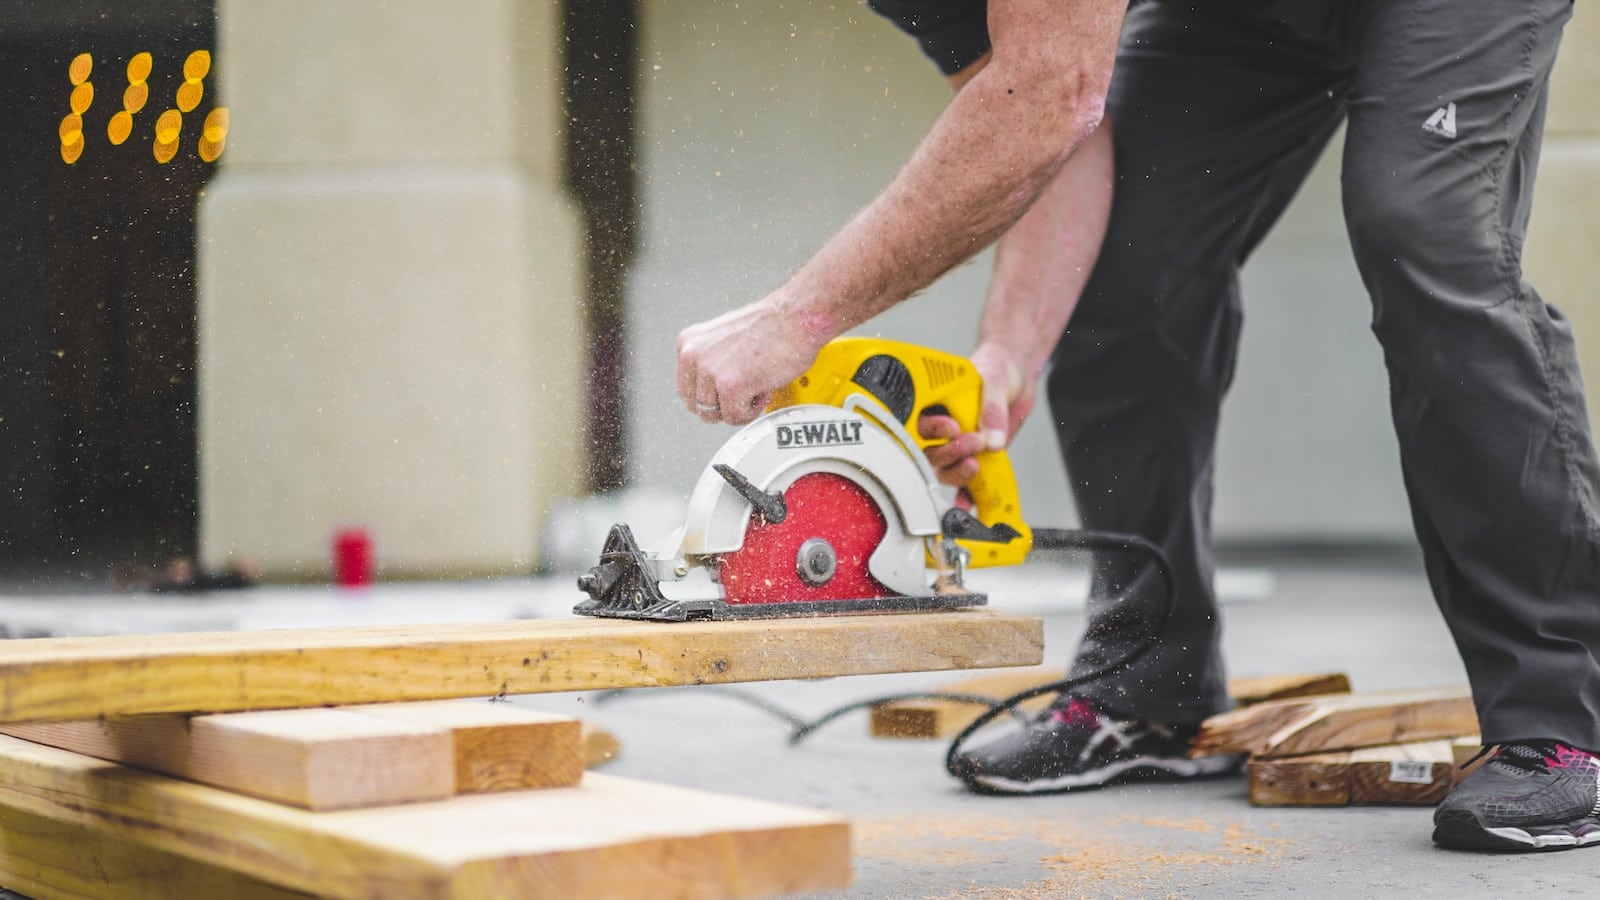
Measuring and Cutting the Frame
To start, we gather our 2×4 lumber—this will serve as the primary material for our frame. We use a framing square and a tape measure to ensure precise measurements. Let’s cut our 2x4s to match the height and width of the wall we’ve planned. Using a circular saw, we make straight cuts, double-checking each measurement before slicing through the wood to ensure accuracy.
- Measure the area where the wall will be mounted, using a level to keep our lines straight and true.
- Mark the cut lines on each 2×4 with a pencil and a framing square to maintain right angles.
- Carefully cut the lumber along the marked lines, ensuring each piece is uniform in size.
Assembling the Frame
The next phase is to assemble the cut 2x4s into a sturdy frame. We begin by laying out the pieces on a flat surface to form the outline of our climbing wall. We’ll need a power drill, deck screws, and our level to make sure everything is perfectly aligned.
- Align the vertical studs with the top and bottom plates of our frame, spacing them 16 inches apart to match standard wall studs.
- For added stability, we can use metal brackets or additional blocking between studs.
- Secure all connections with screws, making certain to use enough to create a solid structure—typically three to four screws per joint.
As we attach each piece, we’ll use a level to verify the studs are perpendicular to the top and bottom plates. A stud finder can be helpful to locate solid anchoring points if we’re attaching the frame to an existing wall. Ensuring our frame is perfectly square and level will provide a solid foundation for the climbing wall.
Installing and Preparing the Wall Surface
To ensure our DIY rock climbing wall is stable and durable, we focus on securely attaching the plywood and applying the correct surface treatment. Proper installation leads to a safer climbing environment for all users.
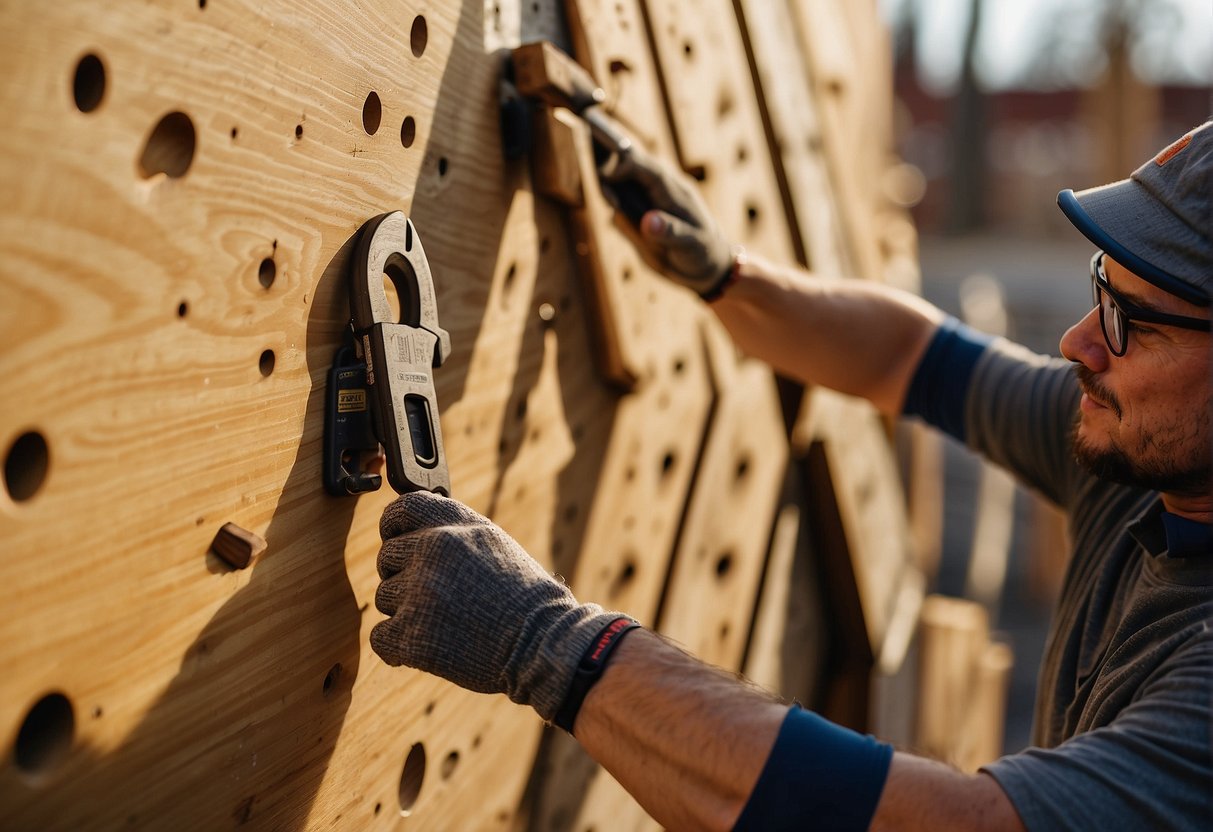
Attaching Plywood Panels
To begin, we select the appropriate thickness for our plywood panels—usually 3/4-inch plywood is standard for ensuring the wall can support the weight of climbers. We make sure the wood is void of any defects to maximize safety and durability. Once we’ve measured and cut our plywood to fit the designated climbing area, we start the attachment process.
It’s crucial to drill pilot holes to avoid splitting the plywood when we drive in the 3.5-inch deck screws. We place screws every 8 inches along the edges and every 16 inches along supporting studs for optimal stability. To accommodate climbing holds, we install T-nuts by drilling holes into the plywood and hammering them in place from the back.
Applying Paint or Stain
Once the panels are secured, we turn our attention to the surface treatment. Here’s our process:
- Ensure all T-nuts are properly installed and countersunk to prevent interference with the climbing holds.
- Clean the surface from any debris and dust for smooth paint or stain application.
- For indoor walls, we apply a non-glossy/textured paint to provide better grip for climbers.
- For outdoor walls, we opt for an exterior grade stain or paint to protect the wood from the elements.
- It’s essential to let the paint or stain dry completely before proceeding with setting the holds.
By taking the time to properly attach and prepare the plywood panels, we lay a strong foundation for our climbing wall. The right paint or stain not only enhances the aesthetic appeal but also adds a functional layer of protection, making our climbing experience both safe and enjoyable.
Setting Up Climbing Holds
When we build our DIY rock climbing wall, the arrangement and attachment of the climbing holds are crucial. They determine the difficulty, variety, and safety of our climbing experience. Let’s walk through the process of hold placement and securing them to the wall.
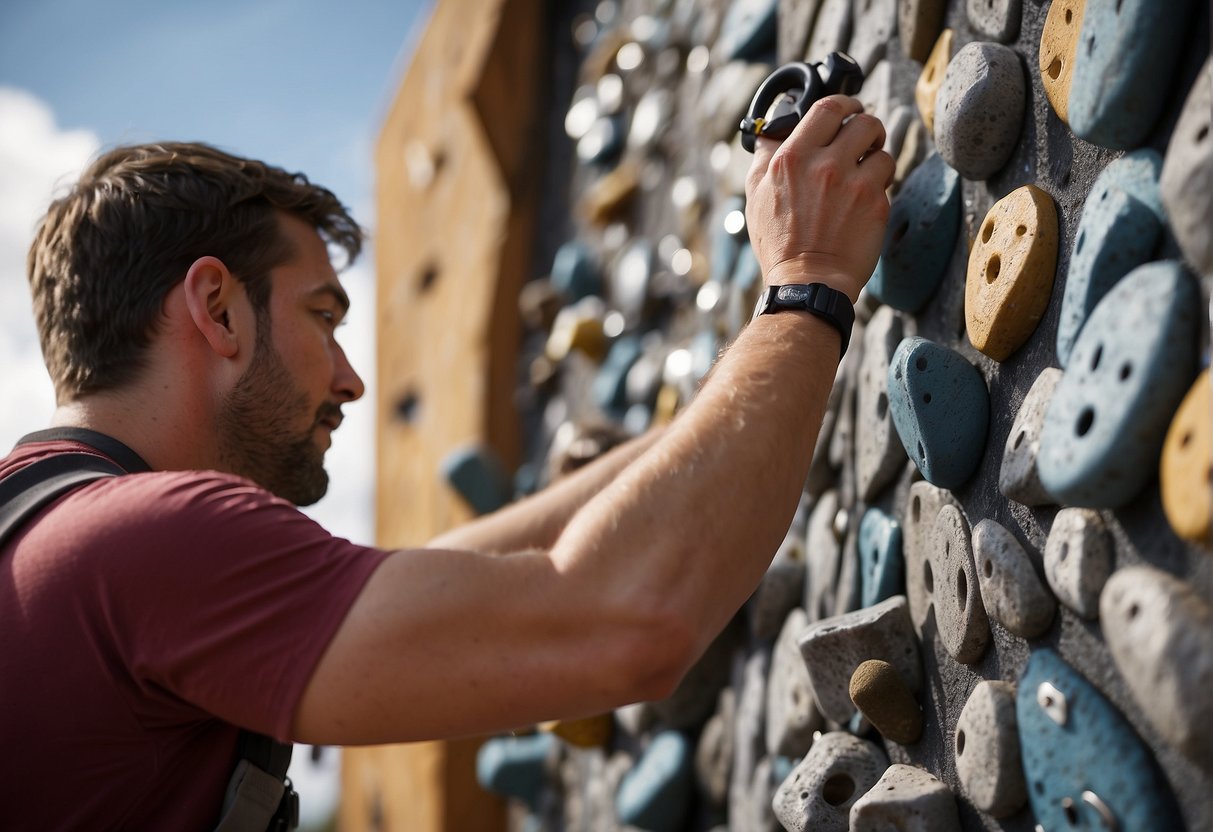
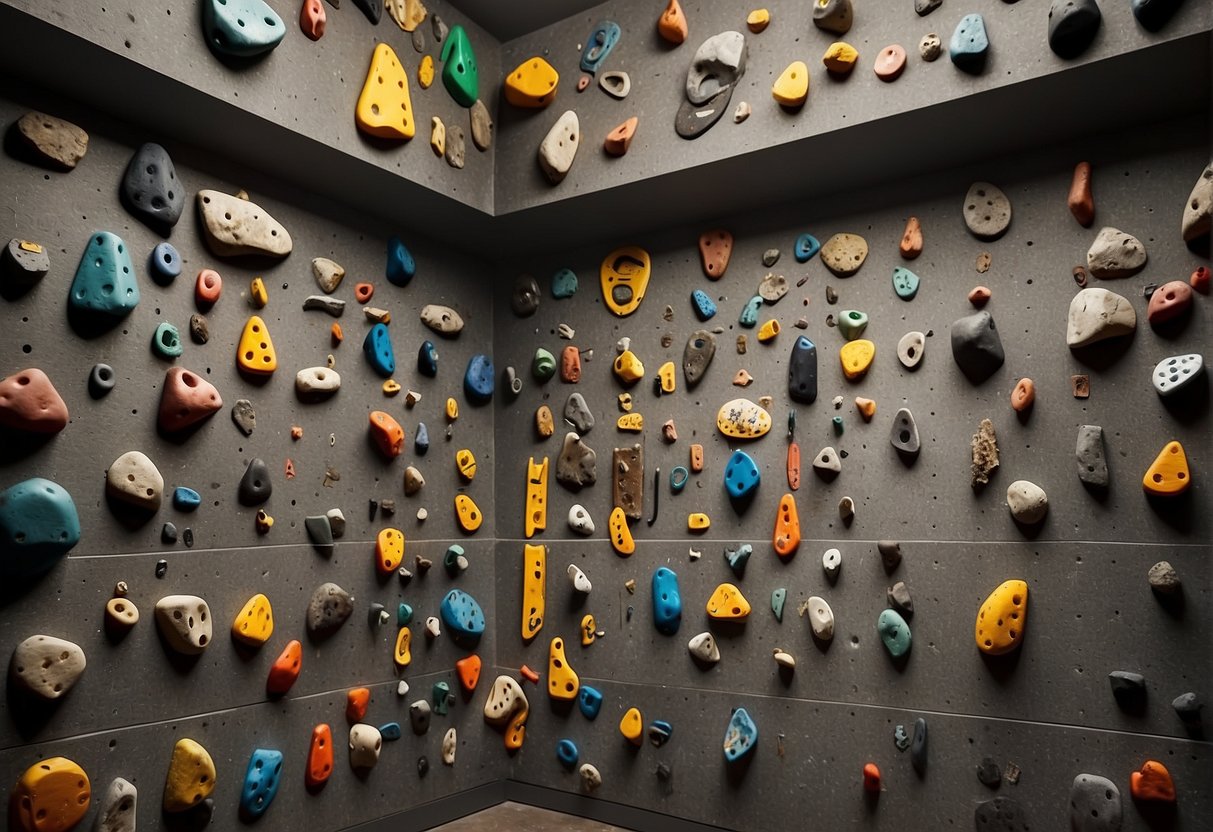
Planning Hold Placement
The strategic placement of holds is essential for creating an engaging and challenging climbing experience. We choose a grid pattern to allow for diverse hold placement options and for easy adjustments later on. Remember, balance is key; we want to offer a variety of holds that cater to different skill levels and target various muscle groups. Try to mimic the natural variety found on an actual rock surface when planning your layout—it makes for a vastly more interesting climb.
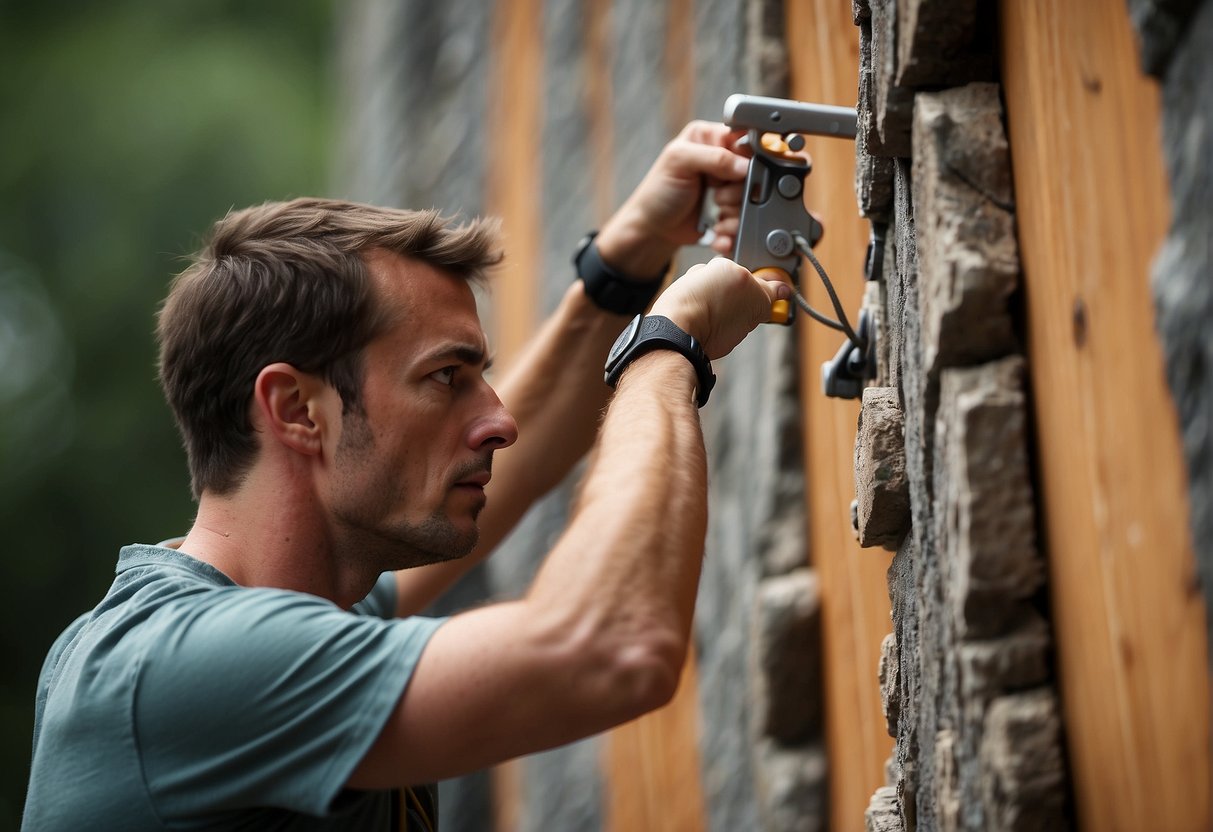
Securing Holds to the Wall
Climbing holds can be classified mainly into two types: screw-on holds and bolt-on holds. For screw-on holds, we’ll need a power drill and screws. It’s important to ensure that the holds sit flush against the wall. For bolt-on holds, we’ll need an allen wrench to fasten the holds with bolts and washers to distribute the load evenly. The number one priority here is to make sure every hold is securely attached to the wall to prevent accidents. It’s crucial to attain a tight fit without stripping the bolt, which takes some practice to master.
Enhancing Your Climbing Wall
To take our home climbing wall to the next level, we focus on diversifying climbing routes, integrating training tools, and optimizing visibility. Each enhancement serves a specific purpose, from improving our technique to ensuring safety and enjoyment.
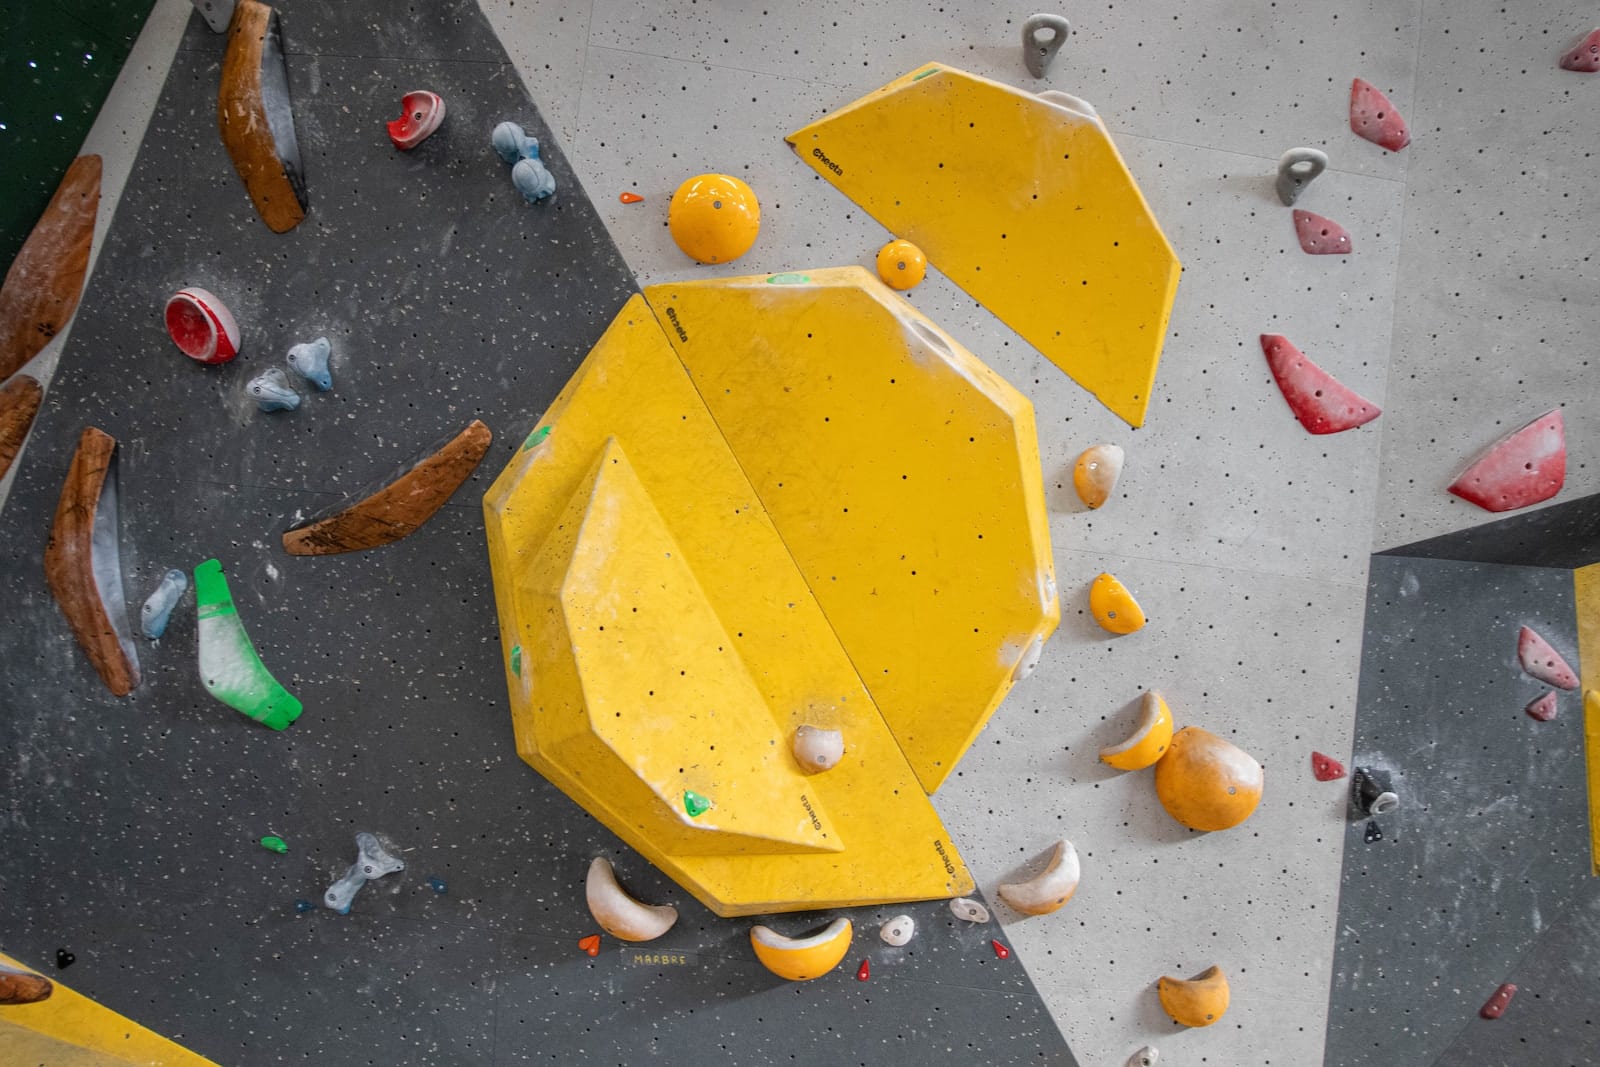
Incorporating a Variety of Angles and Holds
By introducing a range of angles and shapes of holds, we can simulate different climbing scenarios. We include slabs, vertical walls, overhangs, and roofs to challenge various techniques and to enhance our climbing experience. We ensure a variety of holds, such as jugs, crimps, pinches, and slopers, to refine our grip strength and adaptability on the wall.
- Slabs and vertical walls for balance-centric moves.
- Overhangs and roofs to increase upper body and core strength.
- Holds selection:
Adding Training Accessories
For comprehensive training, we incorporate accessories like a hangboard above the wall for finger strength exercises and a chalk bag station for convenience. Hangboards can be used for a variety of workouts that target finger and forearm strength, essential for improving our hold on the wall.
- Hangboard: Installed at the top for pull-ups and finger exercises.
- Chalk Bag Station: Located at the start of each route for easy access.
Ensuring Proper Lighting
Proper lighting is crucial for safety and to avoid eye strain. We install adjustable lights to eliminate shadows on the wall and ensure that each hold is visible. Lighting plays a significant role in our ability to assess routes and practice climbing techniques effectively.
- Adjustable Lights: To highlight holds and routes without casting shadows.
- Ambient Lighting: For overall visibility and to set a comfortable climbing atmosphere.
Finishing Touches and Maintenance
After building your climbing wall, our focus shifts to the finishing touches and maintenance that will ensure longevity and safety. We’ll seal seams and edges, establish a routine for wall care, and perform regular safety checks.
Sealing Seams and Edges
To prevent moisture damage and create a smooth climbing surface, we must seal the seams and edges of our climbing wall. Using a high-grade caulk provides a waterproof barrier and prevents wear and tear. Apply caulk along the seams where plywood sheets meet, and pay special attention to the edges where climbing holds will be attached, ensuring they remain securely fastened for family use.
Ongoing Wall Care
Regular maintenance is vital to keep our climbing wall safe and enjoyable. We perform a bi-annual maintenance check that includes:
- Tightening all screws and bolts on kids climbing holds and panels.
- Inspecting the wall for any signs of structural damage or wear.
- Cleaning the holds and wall surface to remove chalk and dirt buildup.
By adhering to this maintenance routine, we extend the life of our climbing wall and provide a safe environment for all climbers.
Safety Checks
Safety is our top priority, and regular checks are crucial to prevent accidents. Before each climbing session, we:
- Ensure all holds are firmly attached and haven’t loosened.
- Check the wall’s stability and the absence of any sharp edges or protrusions.
- Examine surrounding areas to be free from hazards that could affect the climbers’ safety.
By performing these safety checks, we provide a secure climbing experience for ourselves, our friends, and our family.
Installation Tips and Advice
Before embarking on constructing your DIY rock climbing wall, it’s crucial to focus on structural integrity, account for obstacles like electrical outlets, and consider the cost. These key components serve as safeguarding the longevity and safety of your climbing wall.
Ensuring Structural Integrity
To guarantee the stability and safety of vertical walls or overhanging structures, we must ensure that the wall’s framework is robust. We recommend consulting with an engineer if you plan to build anything other than a simple vertical wall. For vertical and angled walls, the use of support beams and strong anchors into the studs of existing walls is fundamental. Overhanging walls especially require extra reinforcement due to the increased forces they’re subjected to.
- Steps for Supports:
- Locate studs in the wall for anchoring the frame.
- Install horizontal supports for plywood panels.
- Secure supports with bolts and screws designed for load-bearing applications.
Dealing with Electrical Outlets and Storage
Electrical outlets pose a strategic issue: we need to either design around them or temporarily cover and protect them during installation. If outlets are in the way and you are not confident about dealing with them, engage a certified electrician. For storage, we must plan our climbing wall to accommodate space without obstructing access. Recessed shelving or cabinets can be strategically placed to maximize space usage without interfering with the climbing surface.
Example Considerations:
- Outlet Accessibility: Reserve a removable panel for access to electrical outlets.
- Storage Solutions: Utilize the space above or to the side for equipment storage.
Cost Consideration
When we talk about cost, material cost is one of the biggest outlays. It’s important to calculate the number of panels, holds, and volume of framing materials like wood. For indoor walls, choosing less expensive materials can be tempting, but we mustn’t compromise on quality. Additionally, factor in the cost of tools and safety equipment which, while often overlooked, can add up.
- Material Checklist:
- Plywood panels: $20–$30 each
- Climbing holds: $2–$5 per hold
- T-nuts, screws, and bolts: Approximately $0.10–$0.50 each
This details the climbing wall project from an installation perspective, ensuring that we approach this DIY with a thorough plan and roster of materials.
Climbing Wall Use and Etiquette
When we build a rock climbing wall, it’s crucial to cater to climbers of different skill levels, schedule usage to prevent overcrowding, and ensure everyone’s safety. These considerations create a more enjoyable and responsible climbing experience.
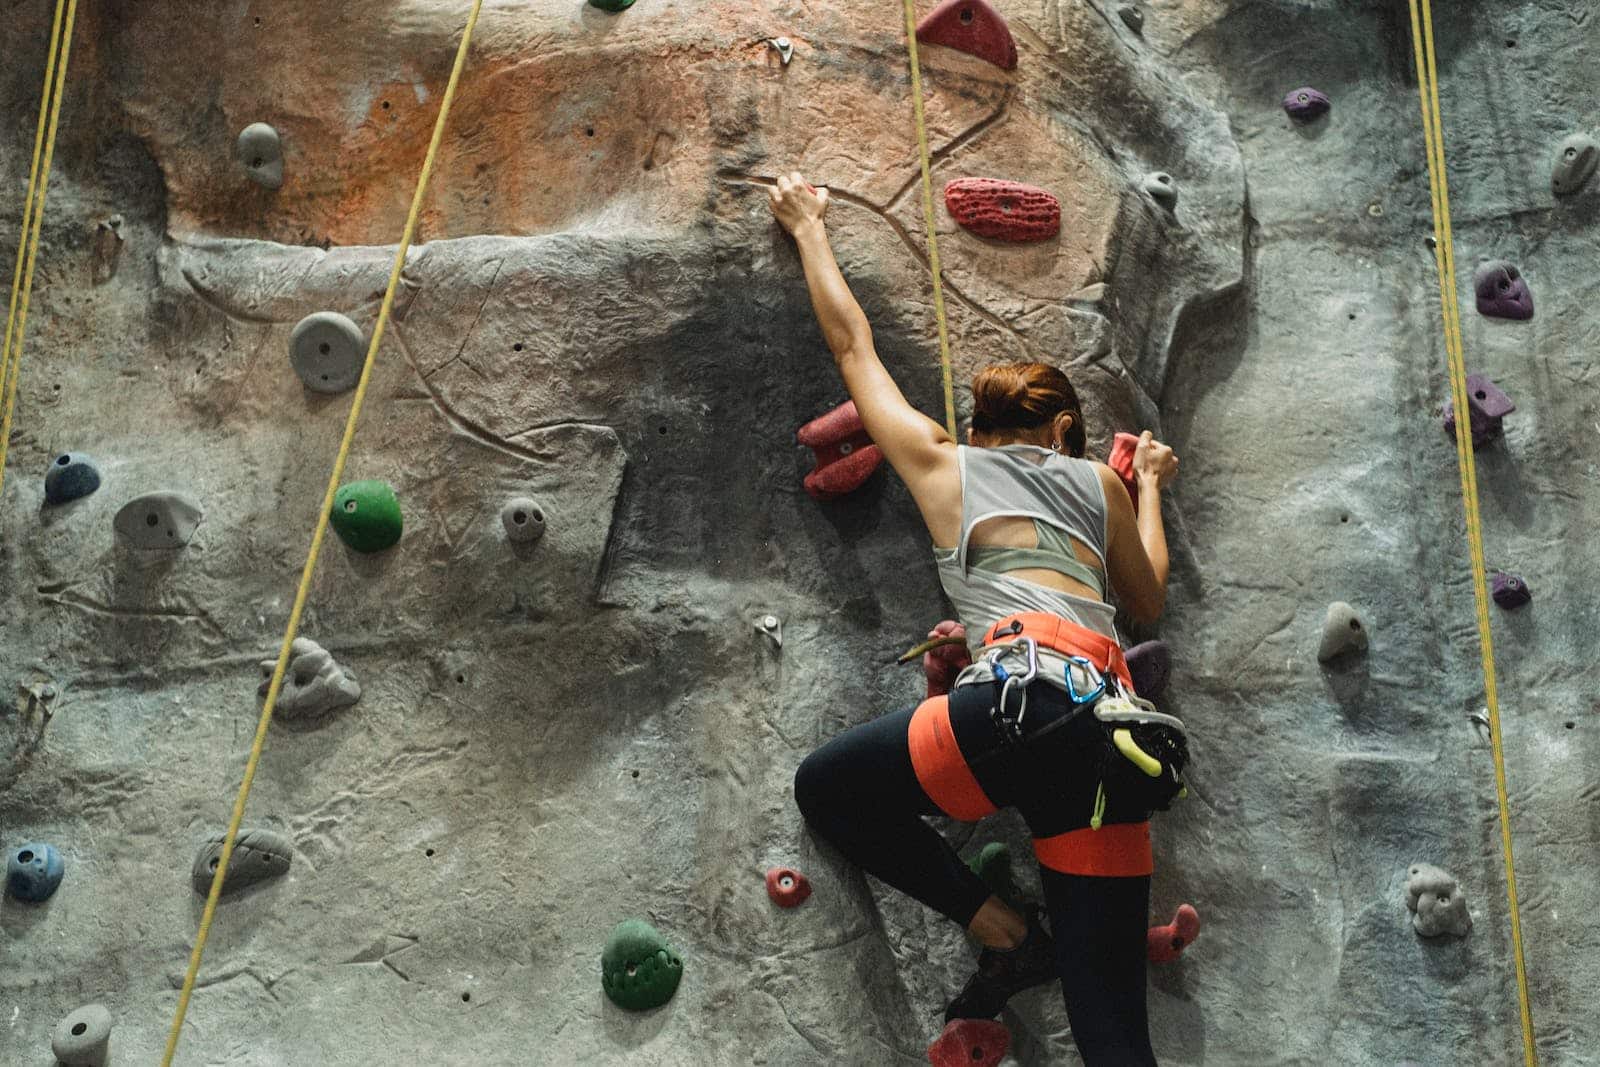
Setting Up for a Variety of Skill Levels
To accommodate climbers of varying abilities, from beginners to advanced, we strategically place holds to create routes, or “problems”, for each level. Beginners may prefer larger holds placed closer together, allowing them to focus on building confidence and basic technique. For intermediate climbers, we integrate a balance of hold types and spacing, encouraging the development of stronger grip and improved footwork. Advanced routes challenge climbers with smaller, more spaced-out holds, demanding precision and complex technique. It’s also essential to have a variety of bouldering and rock climbing options to suit everyone’s preferences, including families who might prefer easier routes for a fun and engaging activity.
Implementing a Usage Schedule
To manage our indoor climbing wall efficiently, we establish a usage schedule. This ensures all climbers have ample time and space to enjoy the wall without overcrowding. We might allocate specific hours for different groups, such as dedicated times for family sessions, where children and parents can climb with shoes and crash pads provided for safety. Open climb hours allow for more flexible usage, while designated times for maintenance ensure that holds are secure and the climbing surface remains in good condition.
Creating a Safe Climbing Environment
Ensuring safety is our top priority. We meticulously check the climbing area for any potential hazards and thoroughly inspect holds, crash mats, and anchors for stability. Regular maintenance goes hand-in-hand with safety, including sanitizing holds and replacing worn-out equipment. We ensure there are sufficient crash pads and mats to cushion falls, and we educate all climbers on proper use, emphasizing the importance of wearing snug-fitting shoes for better control. Our clear safety guidelines prevent accidents and create a secure environment for all climbers to enjoy.
Additional Resources and Inspiration

When embarking on creating a DIY rock climbing wall, it’s essential to leverage the wealth of knowledge and inspiration available. To ensure a safe and enjoyable climbing experience, we suggest consulting experienced climbers, investigating established climbing gyms for ideas, and meticulously planning your project.
Consulting Climbing Community Forums
In community forums, we can learn from seasoned climbers who have built their climbing walls. These forums often provide detailed insights on materials and construction methods, whether you’re aiming for a free-standing outdoor wall or an indoor setup. For example, at the This Old House community, climbers share various DIY project experiences that can help you avoid common pitfalls.
Exploring Professional Climbing Gym Designs
Professional climbing gyms offer a wealth of design inspiration for our wall. By studying the layout and construction of professional walls, we can incorporate elements that promote safety and durability. Resources like REI’s guide can show us how to emulate the robust design of commercial climbing walls in our DIY projects.
Crafting a DIY Project Plan
A well-thought-out project plan is pivotal. It helps us envision everything from the initial frame to the final holds placement. We must decide whether the wall will be indoors or outdoors, and whether it will be a permanent structure or a free-standing one. Tutorials, like those found on LydiaScapes, provide a step-by-step tutorial on framing and constructing a climbing wall, ensuring our project comes to fruition.
Frequently Asked Questions
When embarking on constructing a DIY rock climbing wall, it’s essential to address common concerns and considerations that ensure safety, durability, and enjoyability.
What are the safety considerations when building a DIY rock climbing wall for kids?
We must prioritize safety by ensuring the use of soft landing materials, like crash pads or a thick layer of mulch, and double-check that all holds are securely fastened. Regular inspections for potential wear and tear are crucial for maintaining a safe climbing environment for children.
What materials are needed to construct a durable outdoor climbing wall at home?
To build an outdoor climbing wall, we’ll need pressure-treated lumber for the frame, weather-resistant plywood for the surface, T-nuts for hold attachment, climbing holds, and weatherproofing materials such as sealant or paint to protect from the elements.
What is the recommended height and angle for a DIY climbing wall to ensure both challenge and safety?
We often suggest a height of no more than eight to twelve feet for home climbing walls to balance challenge with safety. A variety of angles, from vertical to slightly overhanging (up to 20 degrees), caters to different skill levels while still keeping the climber close to the ground.
How can you weatherproof a climbing wall to make it suitable for outdoor conditions?
Weatherproofing a climbing wall involves applying an outdoor-grade sealant or paint to the plywood surface. Additional steps include using galvanized or stainless steel for hardware to prevent rust and ensuring adequate drainage around the wall’s base to prevent water pooling.
What steps are involved in making a freestanding climbing wall?
Constructing a freestanding climbing wall involves building a sturdy base to prevent tipping, assembling a frame from pressure-treated lumber, attaching the plywood climbing surface, and then strategically placing T-nuts and climbing holds. Stability and safety checks are critical throughout the process.
Which type of plywood is most suitable for constructing a sturdy indoor climbing wall?
For indoor walls, thick plywood at least 3/4 inch is ideal as it provides a sturdy and resilient surface for climbing holds. We recommend using Baltic Birch plywood for its strength and durability under the stress of repeated climbing.